Home WiFi Connection
You must first complete the First Time Setup Guide before proceeding with this tutorial.
By default, StellarMate operates in HotSpot mode. Even if configured for WiFi connection or LAN, StellarMate always switches back to HotSpot mode when the other connection mode become unavailable. This is to enable you to always access the device regardless of network avalibility.
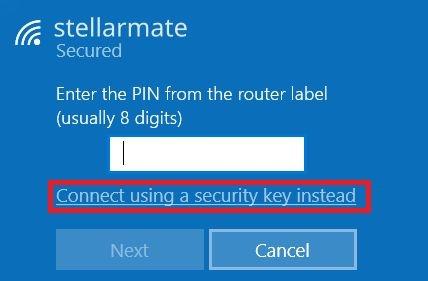
Please note that on some Windows 10 version, it might ask you to connect to StellarMate hotspot using a PIN number. You must select Connect using a security key instead and then use stellar@mate as the password.
Connecting to WiFi Network
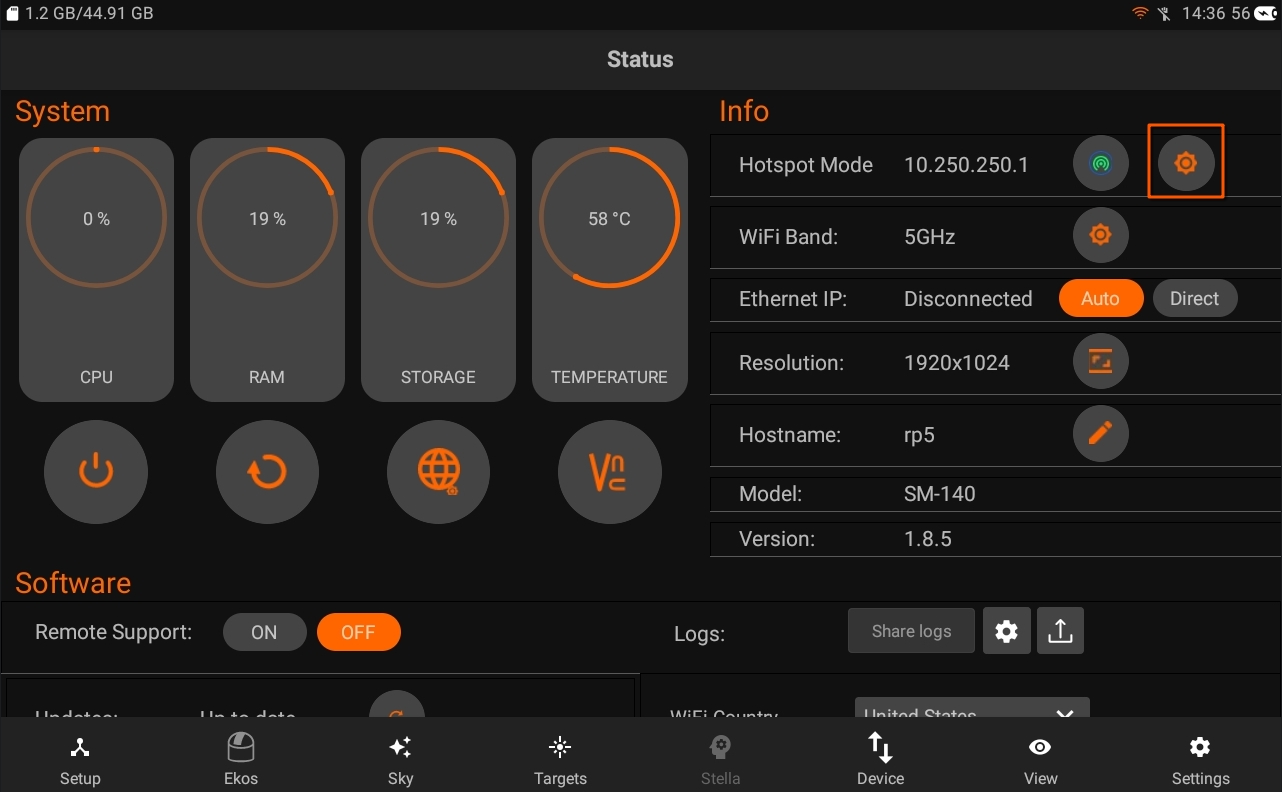
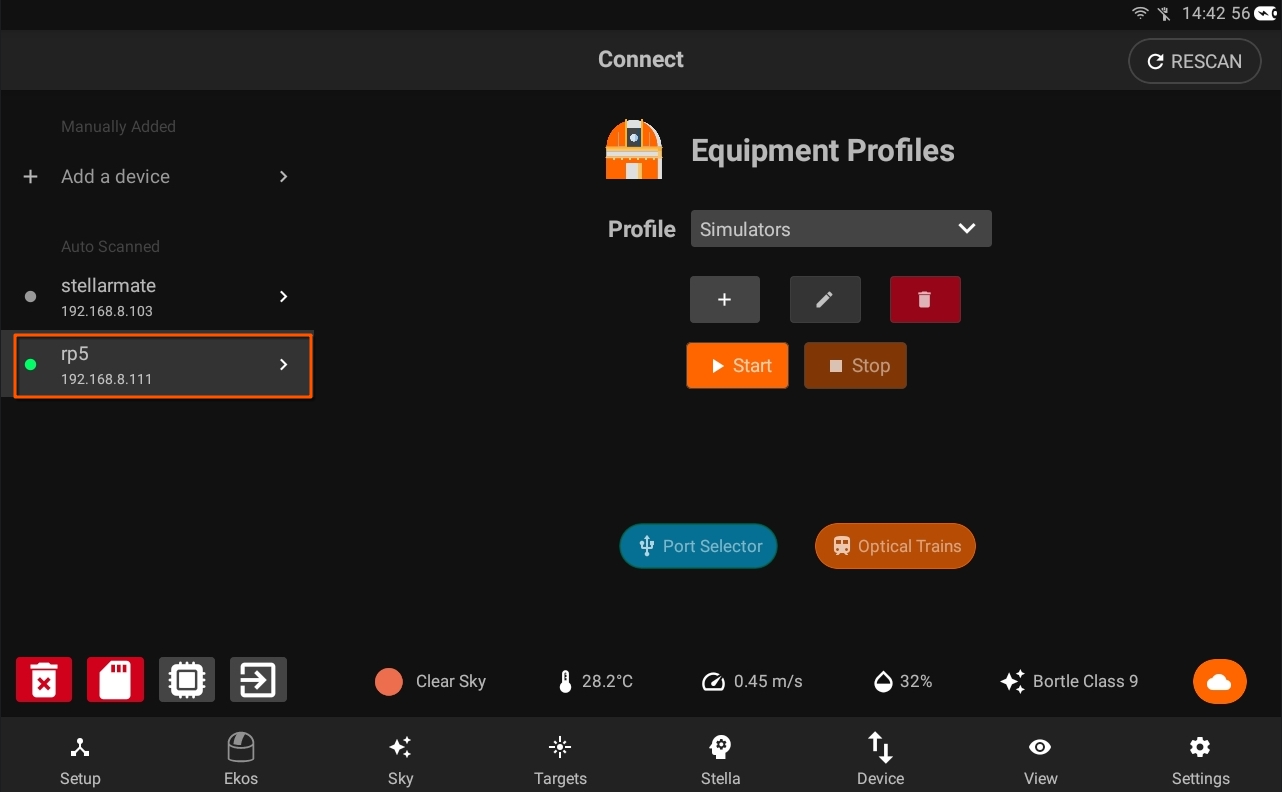
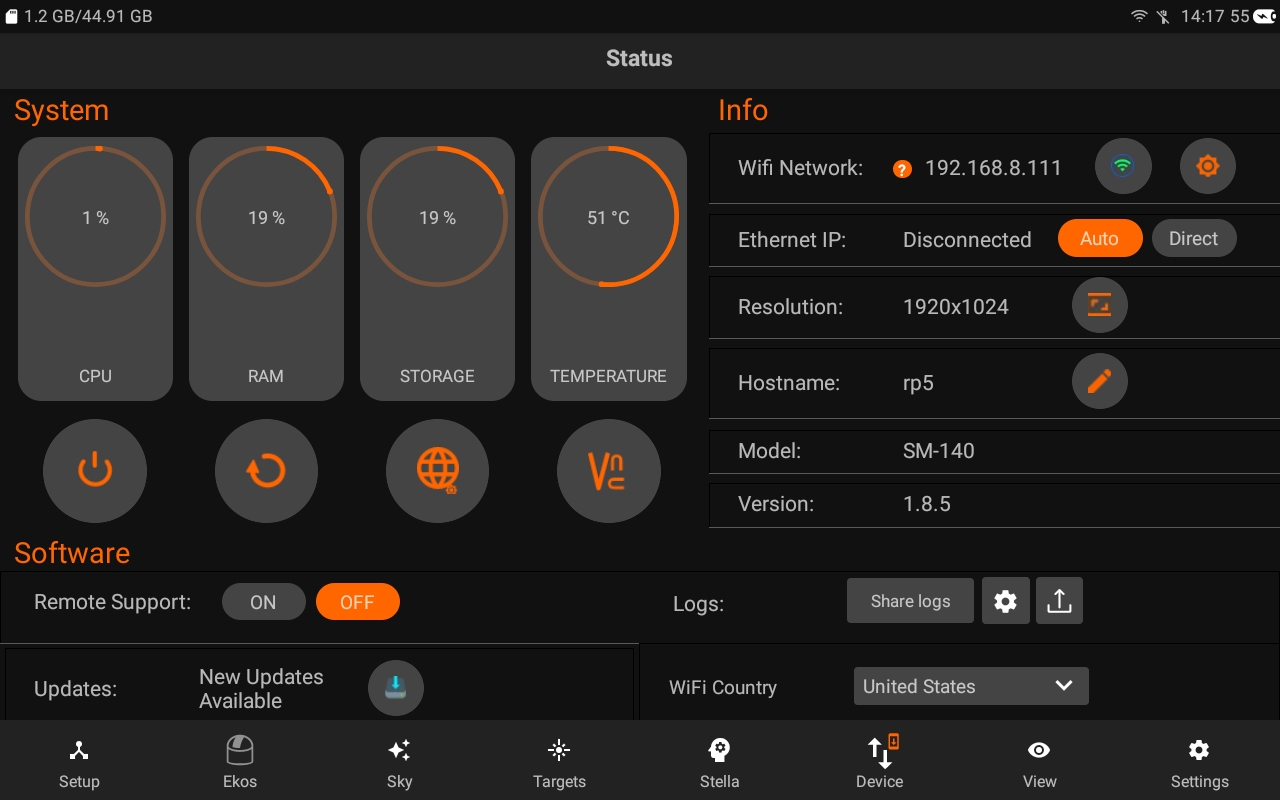
Use the StellarMate App to connect to your WiFi network. From your mobile OS, connect first to the StellarMate HotSpot, then launch the StellarMate App and go to Device tab. Here you can see a few controls to configure StellarMate.
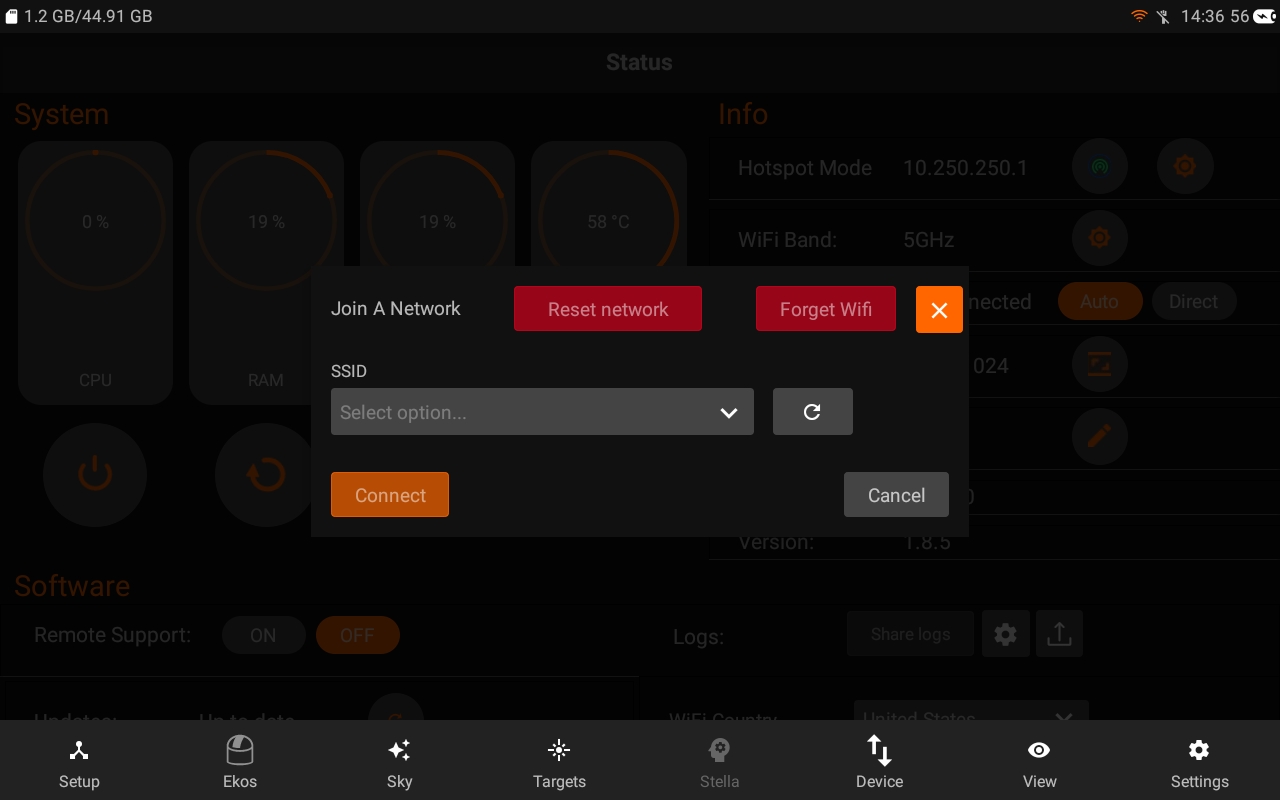
Click on the Manage WiFi Network button. The App should display a list of detected WiFi networks in the vicinity. Click on the combo box to see the networks.
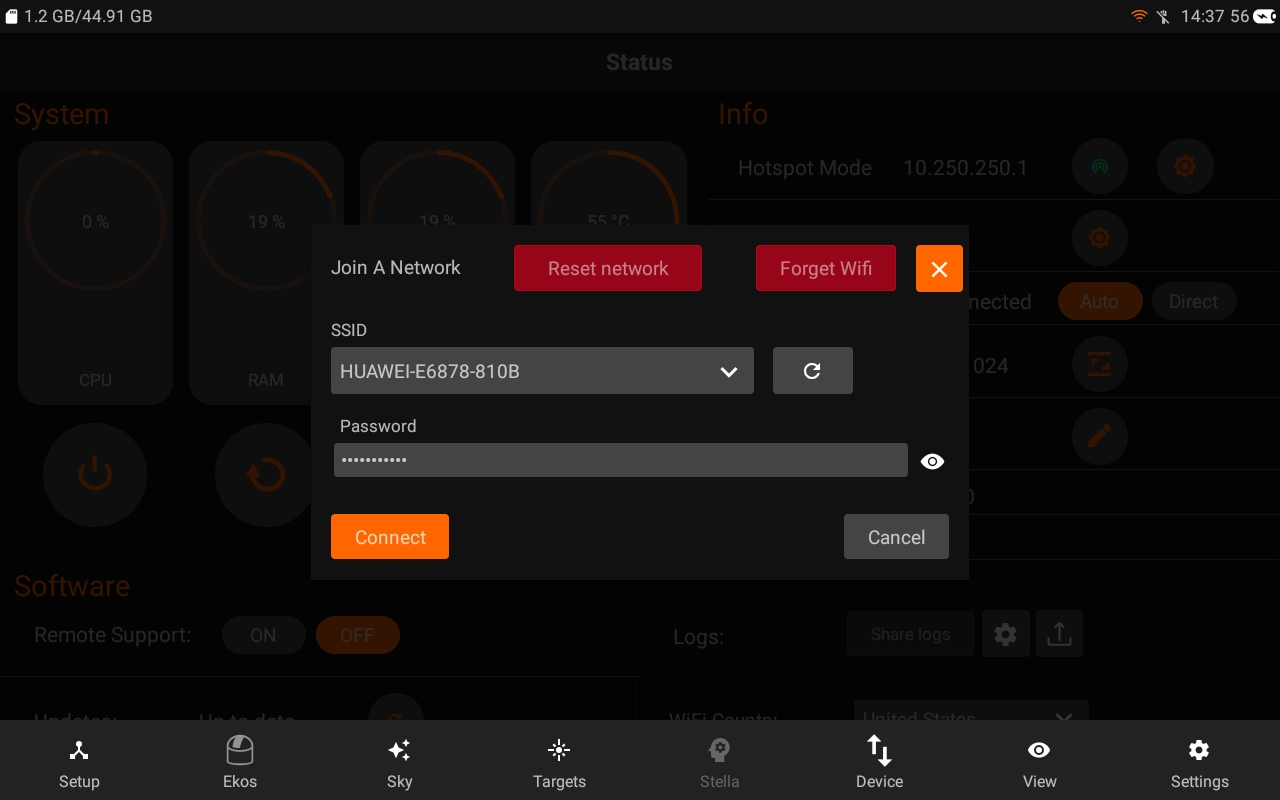
Click on the desired WiFi network and you will be prompted to enter a password. Enter the password carefully and press connect.
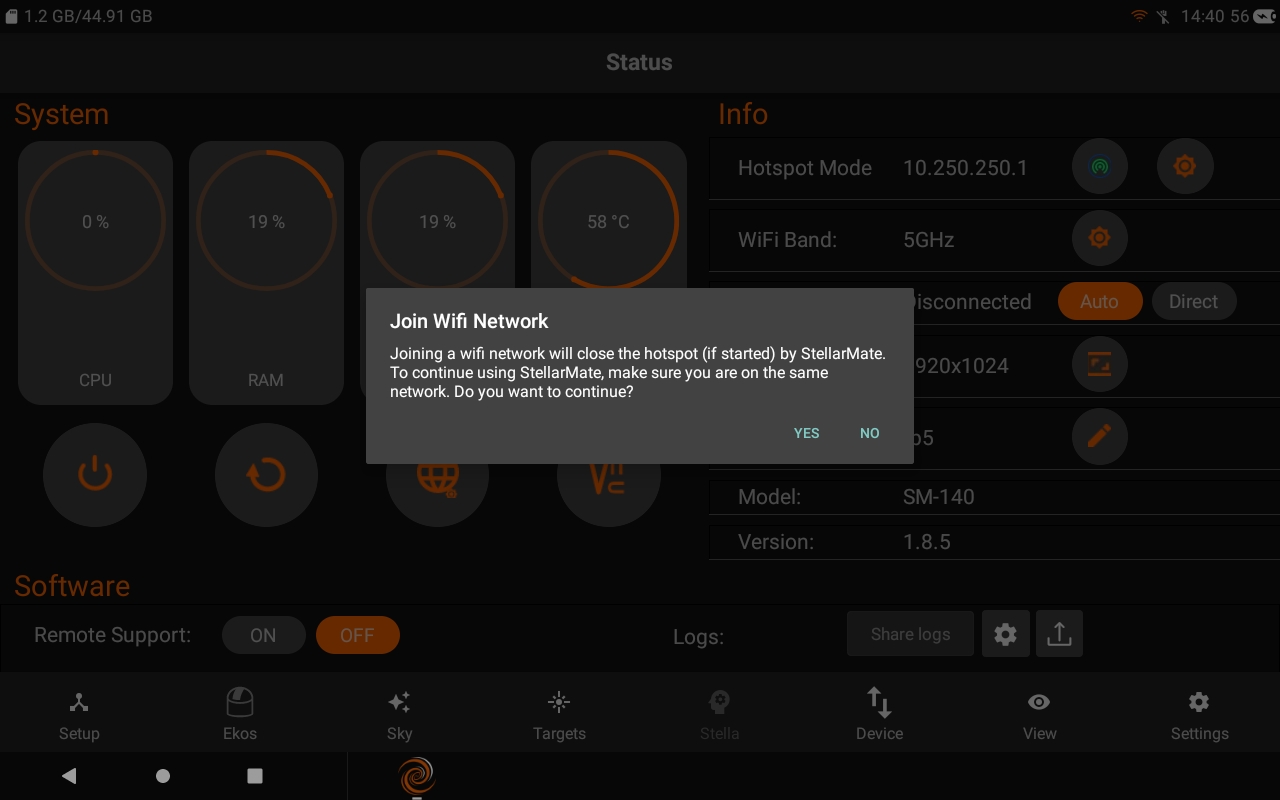
A popup warning will show up. Click Yes to continue.
The App will now disconnect from StellarMate HotSpot. On most phones and tablets, the phone/tablet would return to the last working WiFi network after the hotspot is disconnected. Make sure this is the same network that you joined StellarMate to. In most cases, most users have only one home WiFi network, so by default the phone/tablet will revert to using this network.
Next the unit will switch StellarMate to WiFi mode and it will scan for it in the local network.
This process can take up to 2 minutes. If successful, the Device Info will refresh and show the unit connected to the WiFi.
If the connection fails for whatever reason, StellarMate will fall back again to HotSpot mode where you can restablish connection and try again.
Once StellarMate is joined to a WiFi network, it will always try to connect to this network unless it is out of range. In this case, it will default back to the HotSpot.
StellarMate Address
Whether you are accessing StellarMate from PC, Mac, or Mobile, you can always reach it by the address stellarmate.local This is the address that should be used in Ekos if you are using Ekos on a PC/Mac to connect remotely to Ekos. To access StellarMate Web Manager, type in stellarmate.local:8624
Alternatively, you can find out the StellarMate WiFi IP address from the My Mates page and then use the IP address directly to access the unit. For example, if the IP address is 192.168.0.12, you can then enter in the browser http://192.168.0.12:8624 to access StellarMate Web Manager.
Connecting your equipment
StellarMate supports connecting to your equipment via WiFi, Ethernet, Bluetooth, or USB. USB is the primary connection method for most astronomical devices. Make sure all equipment are sufficiently powered and initailized before connecting them to StellarMate. For mounts, most mounts need to be already aligned before you connect them to StellarMate.
To learn more about connecting your equipment to StellarMate, find out more in the detailed equipment connection guide.
Downloading Ekos
Ekos is the official Astrophotography Tool used for StellarMate. It is part of KStars, a popular planetarium application for Windows, MacOS, and Linux.
Download and setup KStars on your system before proceeding forward.
Connecting from Ekos
When you use Ekos on your PC/Mac, set the profile to Remote and set the Address to stellarmate.local
Make sure INDI Web Manager checkbox is checked.
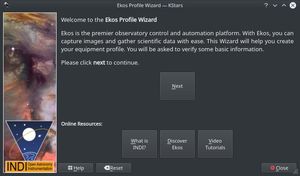
It is recommended to use the Ekos Profile Wizard to setup your first profile.The wizard automatically starts up the first time you fire Ekos in KStars. To start it again, please the wizard icon in Ekos summary screen.
Click Next to proceed to the next screen
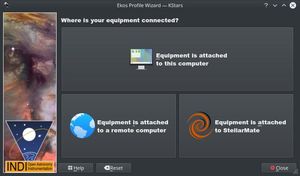 In Here you need to select if your equipment is select to StellarMate or elsewhere:
- If you are running Ekos within StellarMate OS, then select Equipment is attached to This Computer.
- If you are running Ekos on a PC/Mac, then select Equipment is attached to StellarMate.
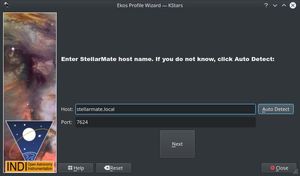
In case you selected #2 above, you have a choice to specify the StellarMate Address & Port. These settings are for advance usage of StellarMate, so just click Next.
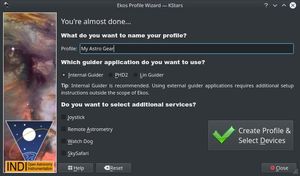
Next select your equipment profile name and any additional services you want to run then proceed to create the profile.
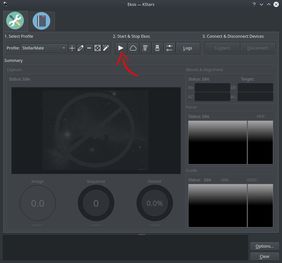
To connect to your equipment and start using Ekos, simply click the Start button as illustrated above.


